

Hello Developers👨💻,
Are you trying to move your Django website from localhost to public URL for free, yes you heard it right, now you can do this by following some steps.
Steps
- Make your Django Project with requirements.txt
- Upload Project to GitHub
- Deploy Project on pythonanywhere
Step 1: Make your Django Project with requirements.txt
- Create your Django App
django-admin startproject deploy_on_pythonanywhere
- Open project in your editor and under
settings.pymake:ALLOWED_HOSTS = ['*']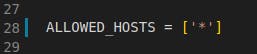
- Create and Activate Virtual Environment Variable
- for LINUX
python3 -m venv env source env/bin/activate - for WINDOWS
pip install virtualenv
virtualenv env
env\Scripts\activate
- for LINUX
- Creating requirements.txt
- First install the dependencies of our project.
- In this we have only one dependency which is Django, so let's install
that
pip install django - Navigate inside our project
cd deploy_on_pythonanywhere - Create requirements.txt file using the command
pip3 freeze > requirements.txt - File structure of our project looks like this:
deploy_on_pythonanywhere
├── db.sqlite3
├── deploy_on_pythonanywhere
│   ├── asgi.py
│   ├── __init__.py
│   ├── __pycache__
│   │   ├── __init__.cpython-38.pyc
│   │   ├── settings.cpython-38.pyc
│   │   ├── urls.cpython-38.pyc
│   │   └── wsgi.cpython-38.pyc
│   ├── settings.py
│   ├── urls.py
│   └── wsgi.py
├── manage.py
└── requirements.txt
- Let's Start our Django Server
cd deploy_on_pythonanywhere
python3 manage.py runserver
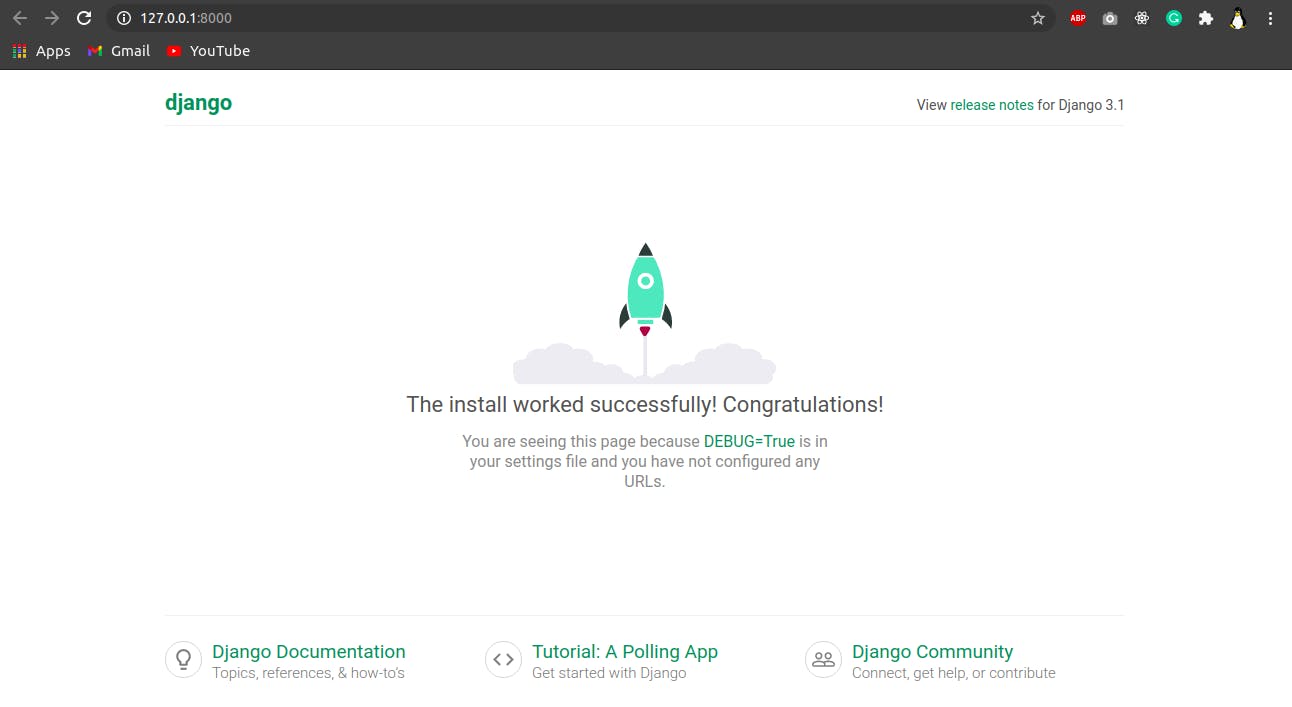
yahooooo, your server is running on localhost.. 🎉🎉
But wait, wait... that's not over, let's make it live for the world 🗺️.
Step 2: Upload Project to GitHub
Step 3: Deploy Project on pythonanywhere
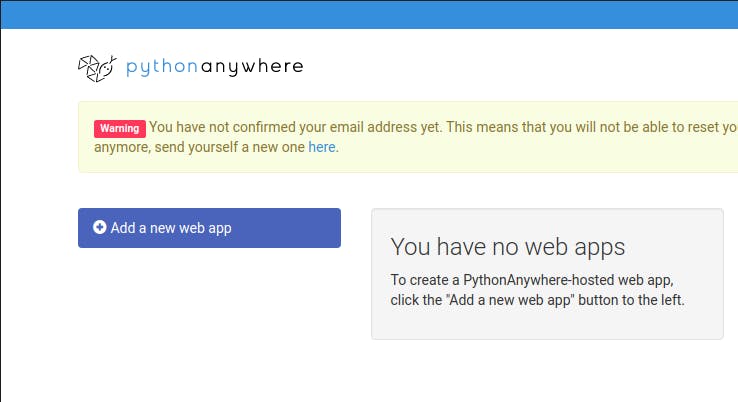
- Create an account on pythonanywhere Click Here
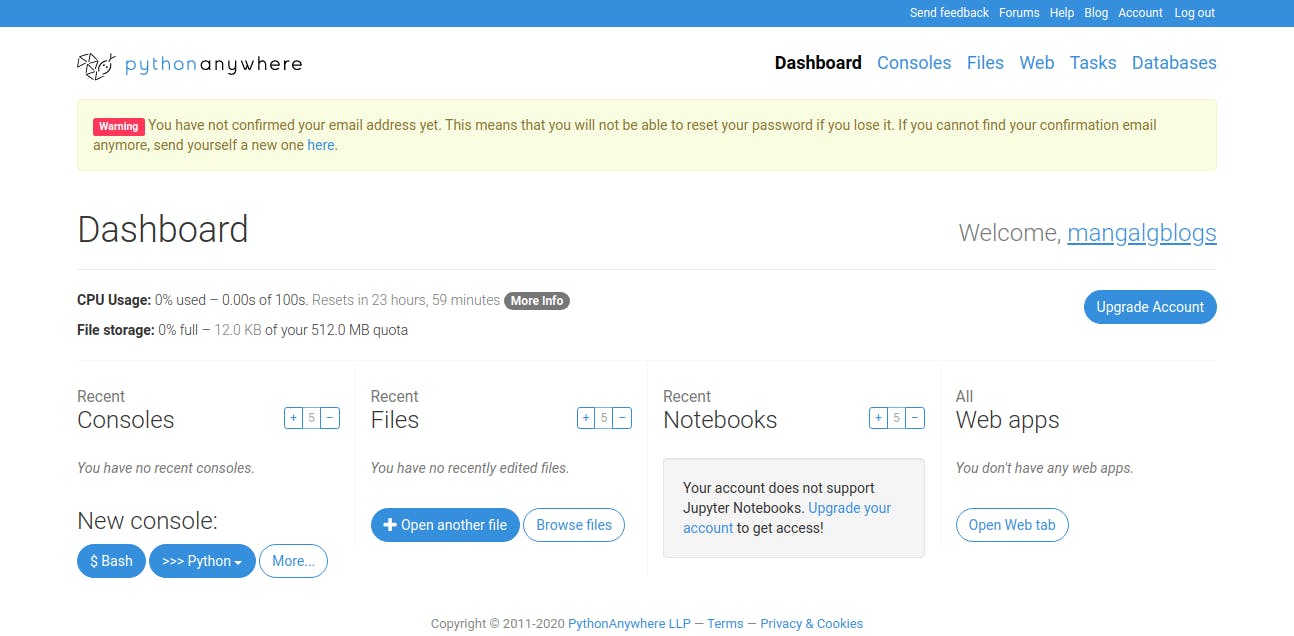
- After Register, you can see the page like this
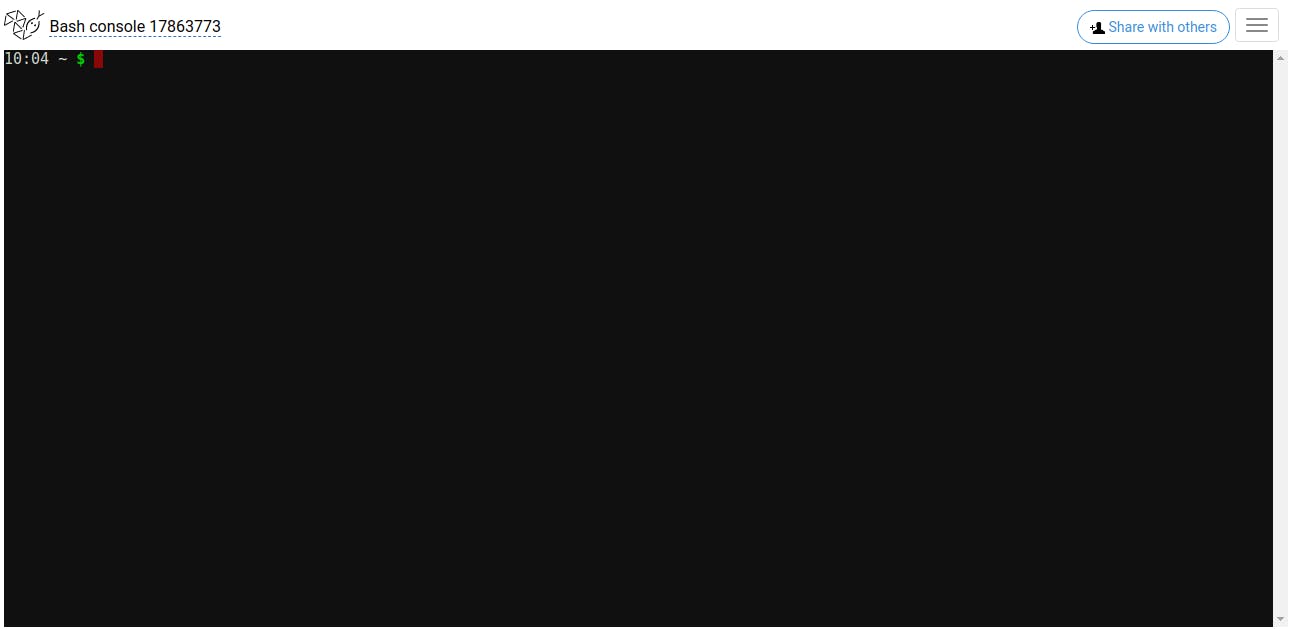
- Now click on Console then select Bash you'll see like this
Type following commands on bash:
- Clone GitHub repo
git clone https://github.com/Prakhar-Mangal/deploy_on_pythonanywhere.git - Now create and setup environment variables
python3 -m venv env #create virtual environment source env/bin/activate #activate virtual environment cd deploy_on_pythonanywhere #navigate inside your project pip install -r requirements.txt #installing dependencies using requirements.txt - Now copy the path of your directories which you installed on bash
Type command on bash
cd
ls # get list of directories
pwd #copy the path for future use
Here it's looks like:

- Clone GitHub repo
Hurree, we set up our project successfully🥳🥳...
But wait wait, follow the final process and we're ready to go
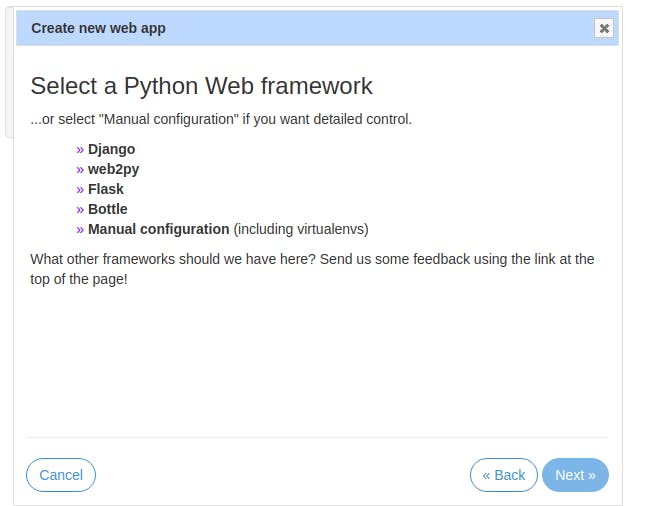
Now click on Web then select Add a new web app
Click on next and follow the procedure
- select django as the framework
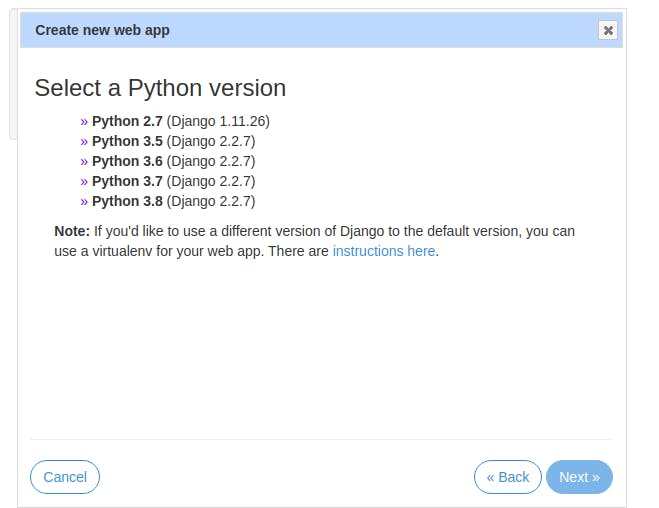
- Select python3.8 (latest) and click on next next till last.
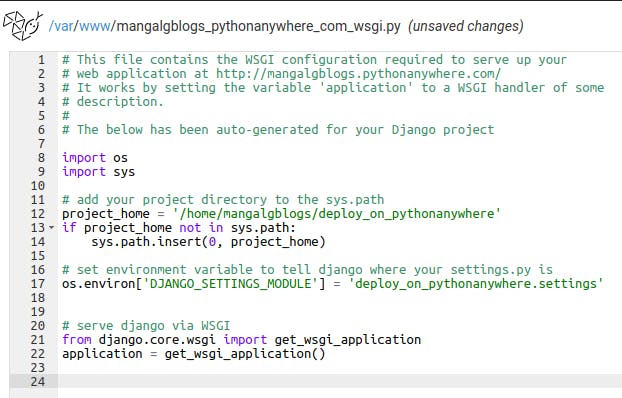
- Now under Web section open WSGI configuration file

- Edit WSGI configuration file on line no. 12 and 17 remove the word
mysitewith your project name which you cloned from GitHub, in my case, it isdeploy_on_pythonanywhere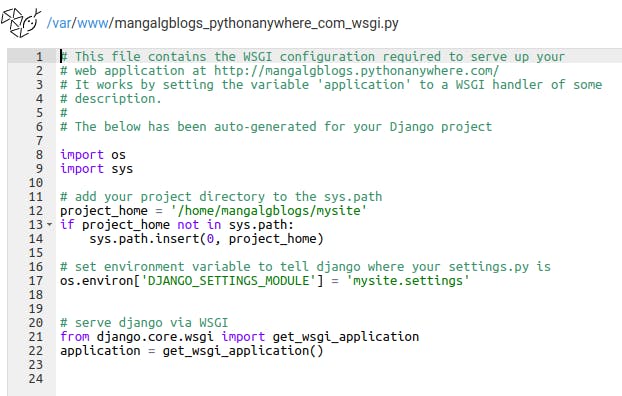
- Now it looks like this and then click on save:
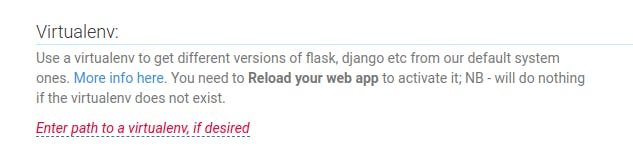
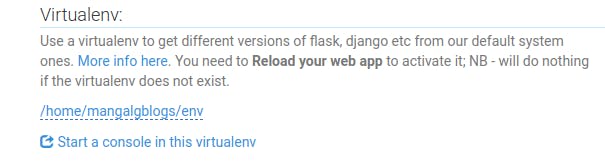
- Select Virtualenv section under Web:
- Enter the path of Virtualenv as we created using bash (refer above pwd command for path)
Click on Reload under the Web section and visit the link
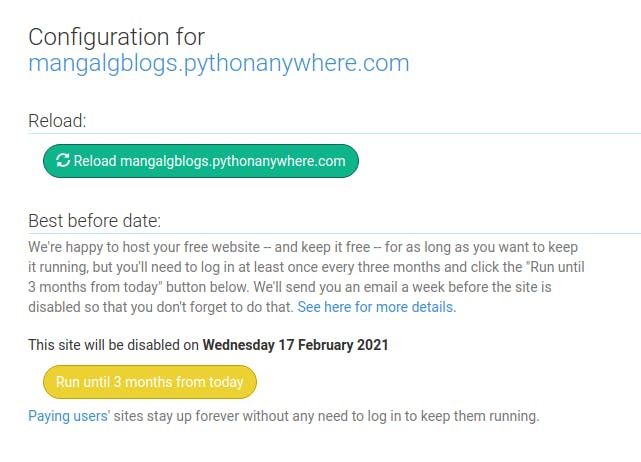
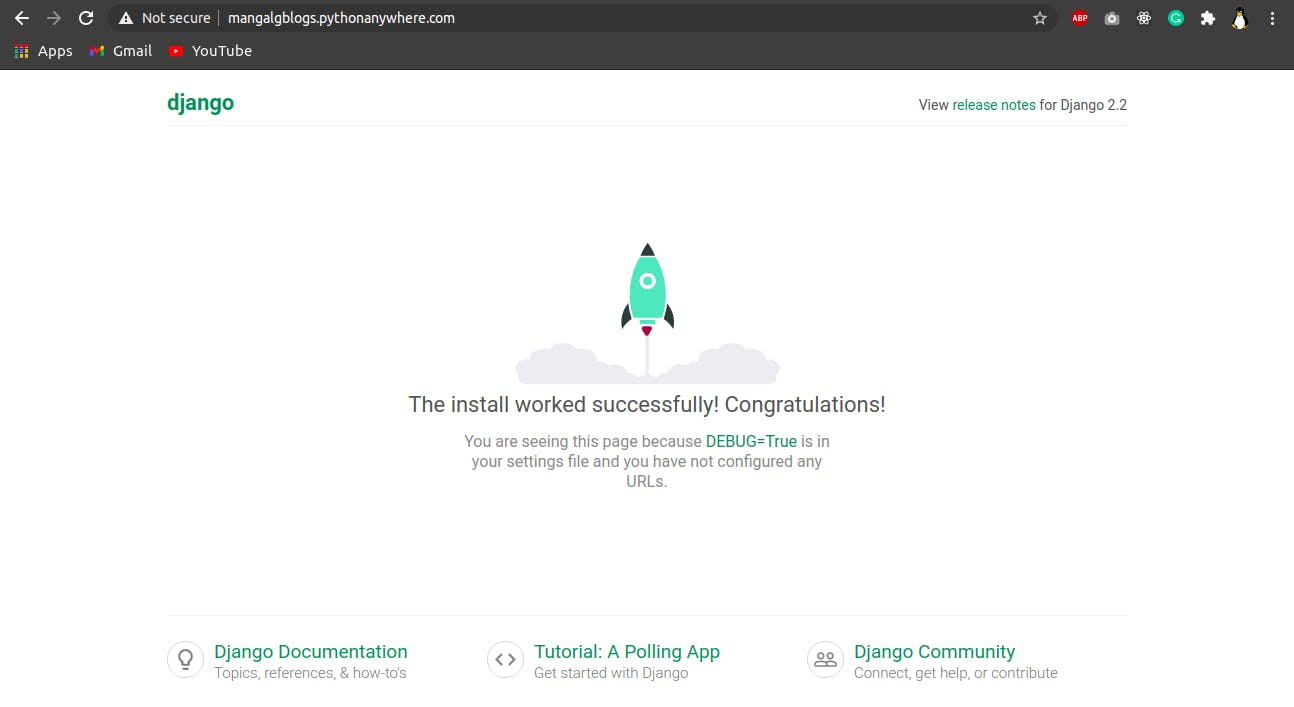
🎊🎊Yahhoooooooooo🎊🎊, we're live now 😎 http://mangalgblogs.pythonanywhere.com/
- select django as the framework